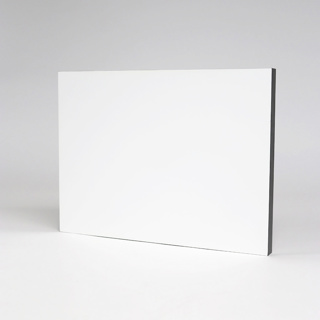
Jetmaster Lightweight Photo Panel Black
Variants
| Item no. | Size | Colour | Quantity In Pack | Availability | Price | Quantity |
|---|---|---|---|---|---|---|
| JMPP305X406B | 12x16in/30.5x40.6cm | Black | 1 | In stock | Price £7.69 | Unit |
| JMPP400X502B | 16x20in/40.6x50.8cm | Black | 1 | In stock | Price £12.95 | Unit |
| JMPP599X749B | 24x30in/61x76.2cm | Black | 1 | Call +44 (0)116 289 3644 to order | Price £22.64 | Unit |
Description
Jetmaster Photo Panel Black Edge.
Simple and effective way to mount and display Photographs! Create effortless impact for your images.
Easy to create Photo Panels in just 4 simple steps!Jetmaster Photo Panel Black Edge.
Although lightweight, these panels look substantial, particularly when on the wall. The smaller sizes come with an additional stand to enable them to be used on shelves, desks or mantlepieces whereas the larger sizes have a number of recess grooves in the back to offer a variety of hanging positions.
Each panel has a self adhesive layer. 25mm Foam Filled alternative to solid MDF display panels.
Easy to create Photo Panels in just 4 simple steps!.
Jetmaster Photo Panel Black Edge instructions.
- Start by removing a small corner of the release liner and use the alignment frame to ensure that the image is correctly placed before peeling away the release liner entirely.
- Apply even pressure across the self adhesive surface to ensure that the print adheres correctly to the panel.
- Then, place the panel face down on a cutting matt and using a craft knife or rotary cutter, trim off any overhanging edges.
- Insert the desk stand provided with smaller frames or, display on a wall using the pre drilled holes in the back of the panel. You are done!
Important these panels feature 'Trim to fit' sizing.
Please note these blocks are slightly smaller than the print size given above which means you can apply the image and then trim it for a super smooth edged finish.
To use, apply your print to the adhesive surface of the panel and then trim flush. And you are all done!

